Reliable symmetrical Credible - Goods Delivered !

How to stitch a T-shirt
Stitching a T-Shirt
Step by step
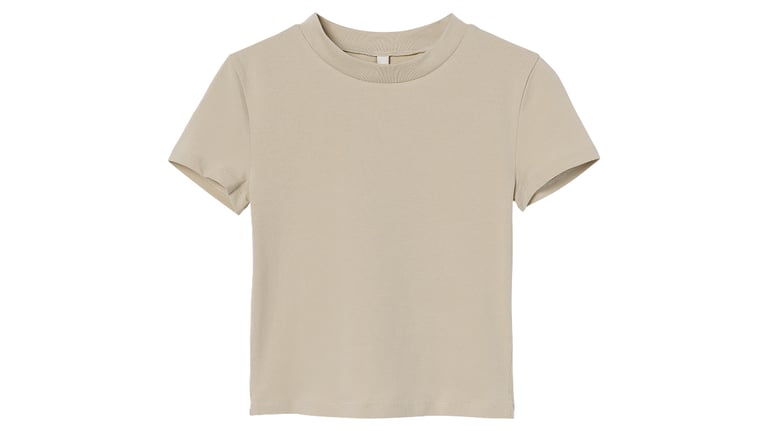
Pin the body pieces together.
Place the front and back body pieces together, right-sides facing inward. Pin around the shoulders only.
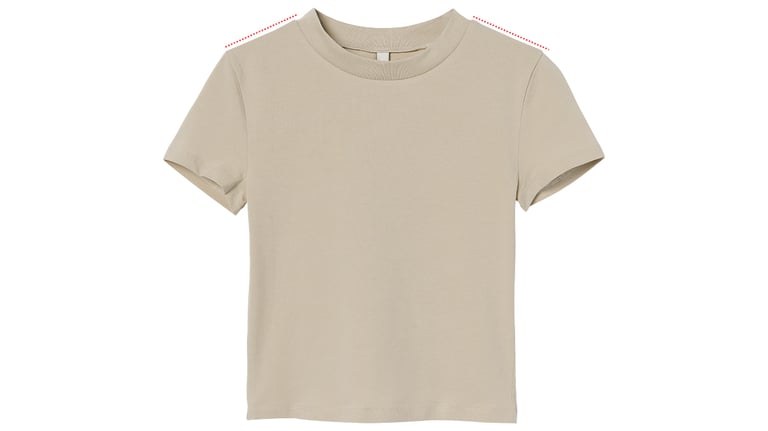
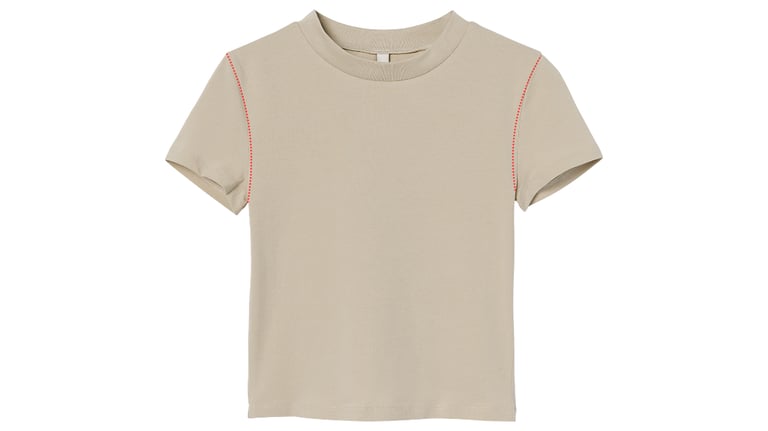
Sew the shoulders.
Stitch straight across one shoulder seam. Cut the thread, then stitch straight across the other shoulder seam.
You should be able to use a standard straight stitch on your sewing machine for this.
Follow the seam allowance you marked out on your pattern pieces. If you've been following this tutorial exactly, the seam allowance will be 1/2 inch (1.25 cm).

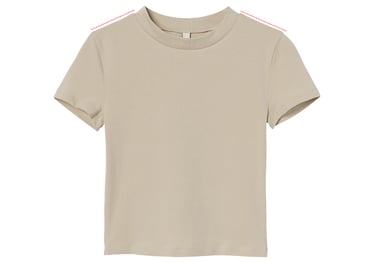
Pin the ribbing to the neckline.
Open the shirt and lay it flat at the shoulders, right-sides facing down. Place the ribbed collar over the neckline opening and pin it in place.
Point the raw side of the collar toward the neckline and keep it above the shirt material. Pin it to the center back of the shirt and the center front.
The collar will be smaller than the neckline opening, so you'll need to gently stretch the collar as you pin it down to the rest of the neckline. Try to keep the ribbing evenly spaced.
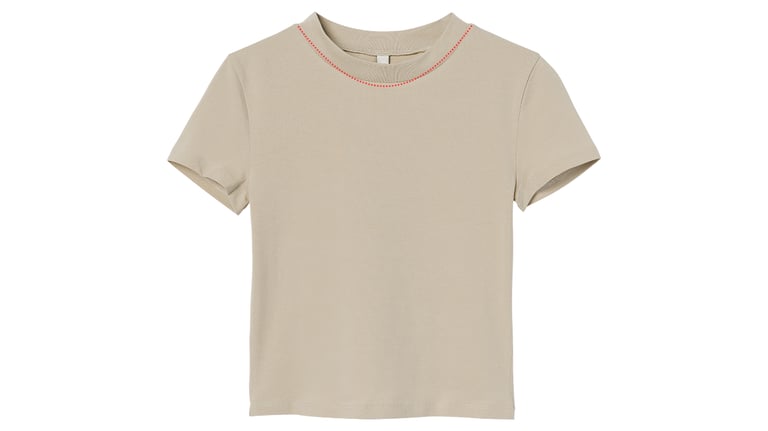
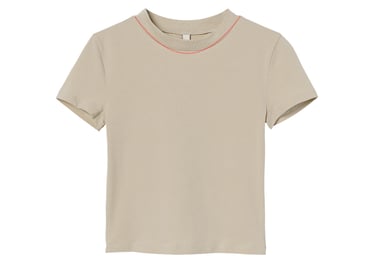
Stitch the ribbing.
Using a zigzag stitch, sew along the raw edge of the collar, using a 1/4 inch (6 mm) seam allowance.
You must use a zigzag stitch instead of a straight stitch; otherwise, the thread won't be able to stretch with the collar as you pull the finished garment over your head.
Use your hands to gently stretch the ribbing as you sew it onto the shirt. Keep it somewhat taut so that no folds form in the connecting fabric.
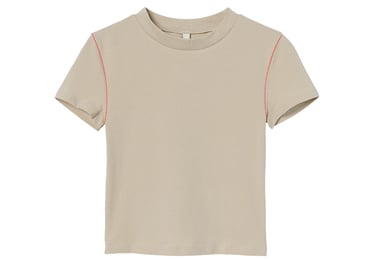
Pin the sleeves to the armholes.
Keep the shirt open and flat at the shoulder, but flip it over so that the right-side faces up. Position the sleeves right-side down and pin in place.
Position the rounded portion of the sleeve against the rounded portion of the armhole. Pin the middle of both curves together.
Gradually position and pin the rest of the sleeve curve to the rest of the armhole, working on one side at a time.
Repeat this process for both sleeves.
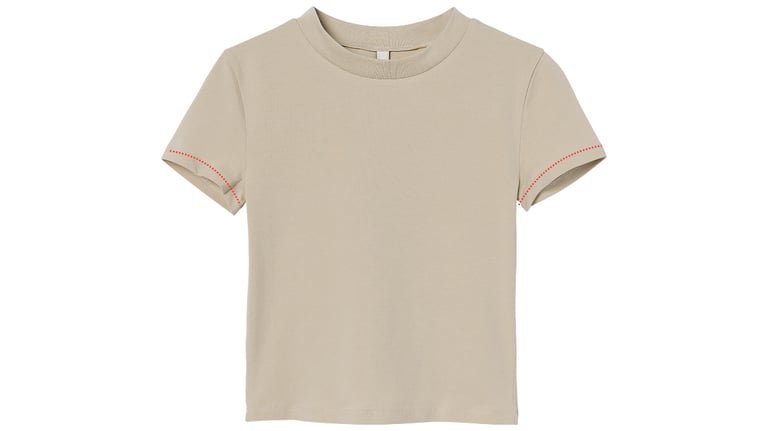
Sew the sleeves.
With the right-sides facing down, sew a straight stitch along both sleeves, connecting them to the armholes in the process.
The seam allowance should match the seam allowance you marked on your original pattern. If you're following this tutorial exactly, the amount should be 1/2 inch (1.25 cm).

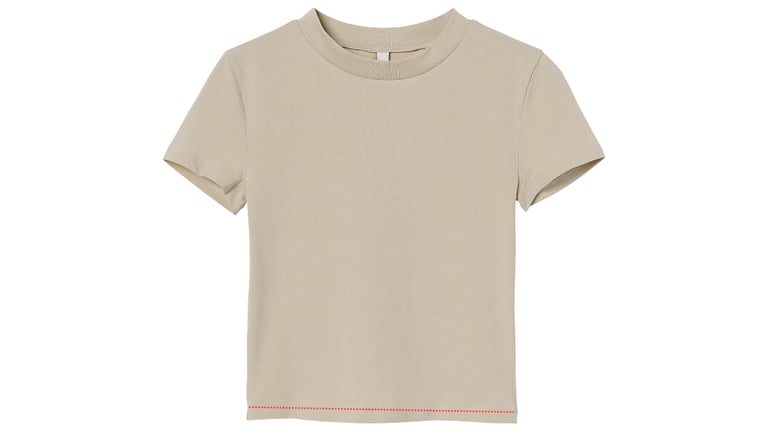
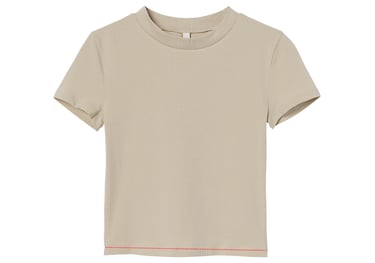
Fold and sew a bottom hem.
With the right-sides still facing, fold the bottom edge up according to your original seam allowance. Pin or press the fold in place, then stitch around the opening.
Make sure that you only stitch the hem in place. Do not sew the front and back sides of the shirt together.
Most knits are fray-resistant, so you may not need to sew a bottom hem. Doing so can create a neater appearance, though.
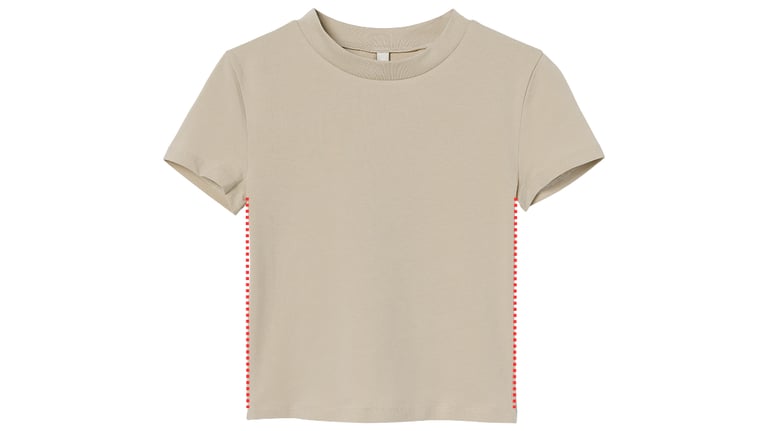
Stitch down both sides.
Fold the shirt with its right-sides facing. Sew a straight stitch down the entire right side of the shirt, working from the tip of the underarm seam straight down to the bottom opening. Repeat on the left side of the shirt when finished.
Pin down the sleeves and sides before stitching them together; otherwise, the material may shift as you work.
Follow the seam allowance you marked on your original pattern. For this tutorial, the seam allowance is 1/2 inch (1.25 cm).
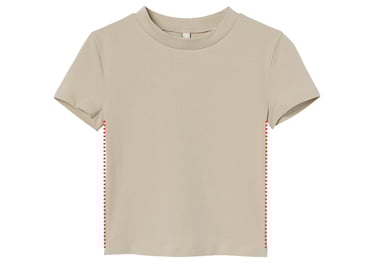
Fold and sew sleeve hems.
With the right-sides facing, fold up the edge of each sleeve opening according to your original seam allowance. Pin or press the fold, then stitch along the opening.
Like the bottom edge, you must stitch around the opening to avoid sewing the front and back together.
You may not need to hem the sleeves if the material is fray-resistant, but they'll look neater if you do.

For our latest collection of sweatshirts, hoodies, polos, and T-shirts to stay trendy and comfortable all year round.
Contact Info Below
client@mpapparelsandgarments.com
+1 (646) 692 0194
© 2024. All rights reserved.
+92 (21) 690 8839
+92 (330)624 6796
USA (Virtual Office) :
Pakistan No :
Whatsapp :
+92 (21) 696 3323
Pakistan No :